Wednesday, October 14, 2020

net-iface.name Human Network Interfaces Names or custom

SOLUTION:
Step 1: Disable the default Firmware inherited names.
Edit your /etc/default/grub changing the line from
-----
GRUB_CMDLINE_LINUX=""
to
GRUB_CMDLINE_LINUX="net.ifnames=0 biosdevname=0"
-----
and, finally run as root:

sudo update-grub

and reboot your system.
sudo reboot

Create Custom interfaces names
Step 2: Create the persistent file /etc/udev/rules.d/70-persistent-net.rules as root and fill them.
sudo gedit /etc/udev/rules.d/70-persistent-net.rules

Example:
# This file was automatically generated by the /lib/udev/write_net_rules
# program, run by the persistent-net-generator.rules rules file.
#
# You can modify it, as long as you keep each rule on a single
# line, and change only the value of the NAME= key.

# PCI device lan Device
SUBSYSTEM=="net", ACTION=="add", DRIVERS=="?*", ATTR{address}=="XX:yy:XX:yy:XX:yy", ATTR{dev_id}=="0x0", ATTR{type}=="1", KERNEL=="eth*", NAME="ethX"

# PCI device Wlan Device
SUBSYSTEM=="net", ACTION=="add", DRIVERS=="?*", ATTR{address}=="XX:yy:XX:yy:XX:yy", ATTR{dev_id}=="0x0", ATTR{type}=="1", KERNEL=="eth*", NAME="wlanX"

(Use the interfaces MAC Address to refer to the interface that you want to rename, and change the 'X' interface name values as you want)

Save changes and reboot.
sudo reboot

Enjoy!

Monday, August 17, 2020

Thursday, August 13, 2020

MacOS in VirtualBox

After installing normally:

VBoxManage modifyvm "MacOS Mojave" --cpuidset 00000001 000106e5 00100800 0098e3fd bfebfbff
VBoxManage modifyvm "MacOS Mojave" --cpu-profile "Intel Core i7-6700K"
VBoxManage setextradata "MacOS Mojave" "VBoxInternal/Devices/efi/0/Config/DmiSystemProduct" "iMac11,3"
VBoxManage setextradata "MacOS Mojave" "VBoxInternal/Devices/efi/0/Config/DmiSystemVersion" "1.0"
VBoxManage setextradata "MacOS Mojave" "VBoxInternal/Devices/efi/0/Config/DmiBoardProduct" "Iloveapple"
VBoxManage setextradata "MacOS Mojave" "VBoxInternal/Devices/smc/0/Config/DeviceKey" "ourhardworkbythesewordsguardedpleasedontsteal(c)AppleComputerInc"
VBoxManage setextradata "MacOS Mojave" "VBoxInternal/Devices/smc/0/Config/GetKeyFromRealSMC" 1

The above does the following, in order of command:

  • Sets a known CPU ID set that MacOS will recognise.
  • Especially for AMD machines, changes what MacOS sees as your processor to something it supports.
  • Tells MacOS you’re installing Mojave onto a mid-2010 iMac. You can change this to your preference.
  • These two specify a fake DMI, typically found in Apple PCs.
  • A device key to pass system checks.

Before starting the VM, open the VM settings and make the following changes:

  • System > Processor > Processor(s) is 2 or more.
  • System > Acceleration > uncheck Enable Nested Paging.
  • Display > Screen > Video Memory is 128MB.
  • USB > USB 3.0 Controller.

MacOS in VMWare

 Download macOS mojave iso :   macOS Mojave ISO by Geekrar.rar

Download VMWare Patch tool :  https://github.com/theJaxon/unlocker

Download VMware tools : vm-tools-macos.iso


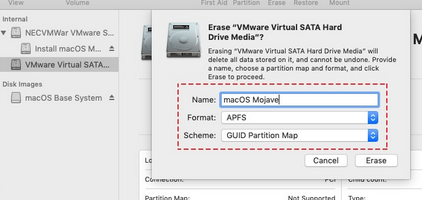
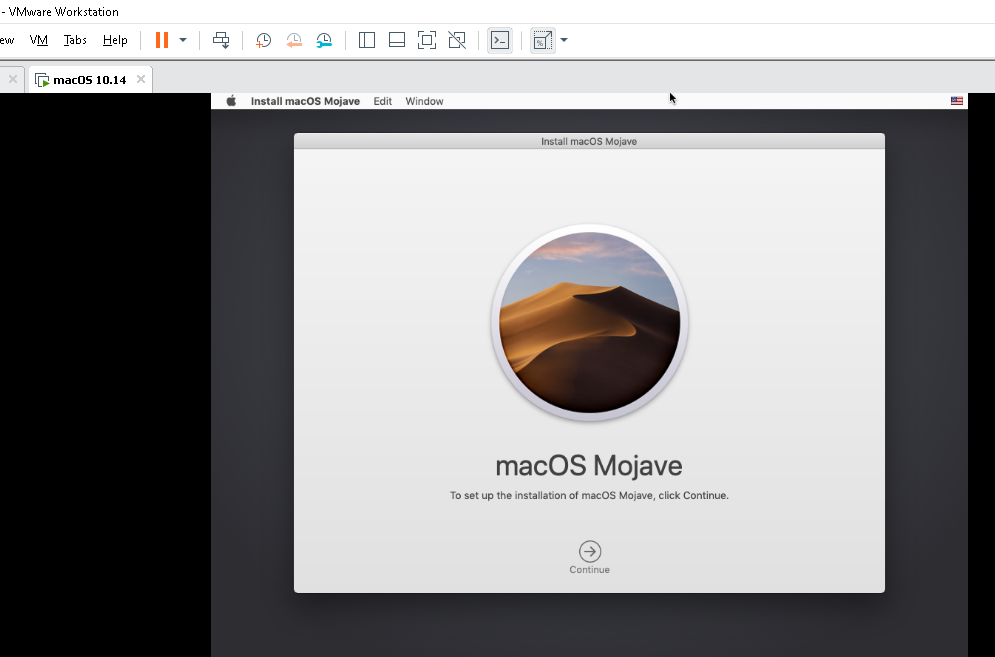
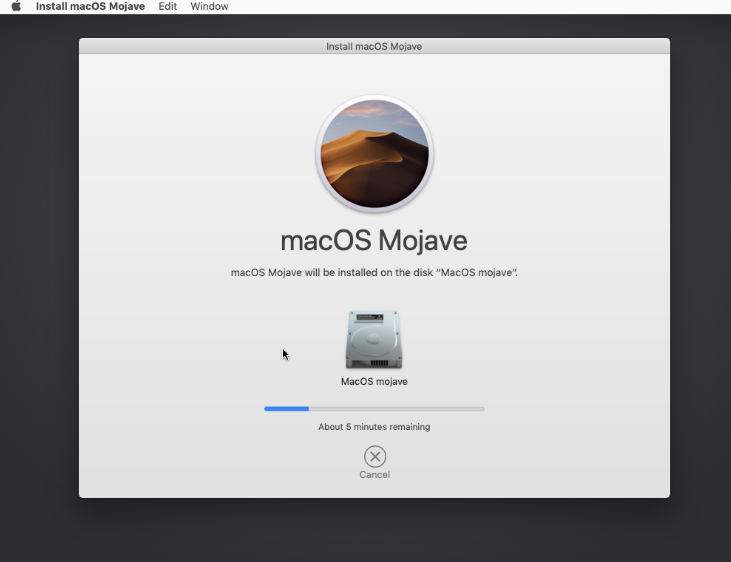
Start the VM, erase HDD with Disk Utility to APFS and install new macOS 


LXC Kali linux container

 apt install kali-linux-default kali-desktop-xfce

adduser kali
usermod -aG sudo kali
sed -i '1 i\TERM=xterm-256color' /home/kali/.bashrc sh -c "echo 'Set disable_coredump false' > /etc/sudo.conf"

Login to the new container as user “kali” via

lxc console kali

sudo msfdb init
msfconsole


Full howto: https://www.kali.org/docs/containers/kalilinux-lxc-images/

https://blog.simos.info/how-to-easily-run-graphics-accelerated-gui-apps-in-lxd-containers-on-your-ubuntu-desktop/

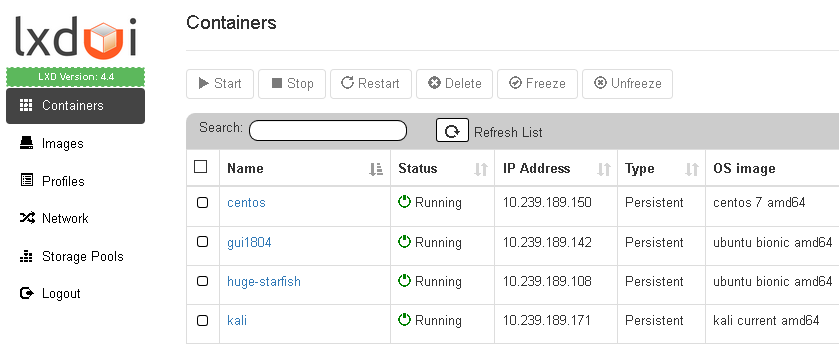
LXDui - WebGUI to LXC / ver 2.0


sudo apt install -y git build-essential libssl-dev python3-venv python3-pip python3-dev zfsutils-linux bridge-utils

sudo snap install lxd

lxd init

 git clone https://github.com/AdaptiveScale/lxdui.git

cd lxdui

        python3 setup.py install

lxdui start